Cognitive Virtual Assistants
Author
I am Shpetim Sadriu working for Incodeks L.L.C as a Senior Software Engineer, experienced with a demonstrated history of working in the information technology and services industry. I am writing this article because Cognitive Virtual Assistants (CVA) is advanced technology by the product business which is fundamentally a new sort of interaction between Hardware and Human Interaction. Cooperation concentrates in progress with a model on showing the legitimacy of the connection between communication, language and the disclosure of techniques to diminish the administration. This examination is offered another measurement to discover the source direction whose voice-recognition is made to be conceivable by the brainpower of Artificial Intelligence (AI). Such a commitment to the paper comprises of: reviewing and summing up center thoughts from different orders, having the chance to see how much communication with Voice Recognition (VR) brings to the table; clarify why the objective with remote helpers is in the closer view; Defining the difficulties on the off chance that you need to offer more open doors for Cognitive Virtual Assistants (CVA) has been demonstrated below:
Introduction
How DialogFlow works?
- A user sends a text/voice message to a device or an Application.
- The message is categorized and matched to a corresponding intent (Intents are defined manually by developers in DialogFlow)
- DialogFlow agent reads text/voice and responds to input based on the Intents. (This conversion from intent text responses to audio is known as audio output, speech synthesis, text-to-speech, or TTS)
- The App/Device transfers the message to DialogFlow.
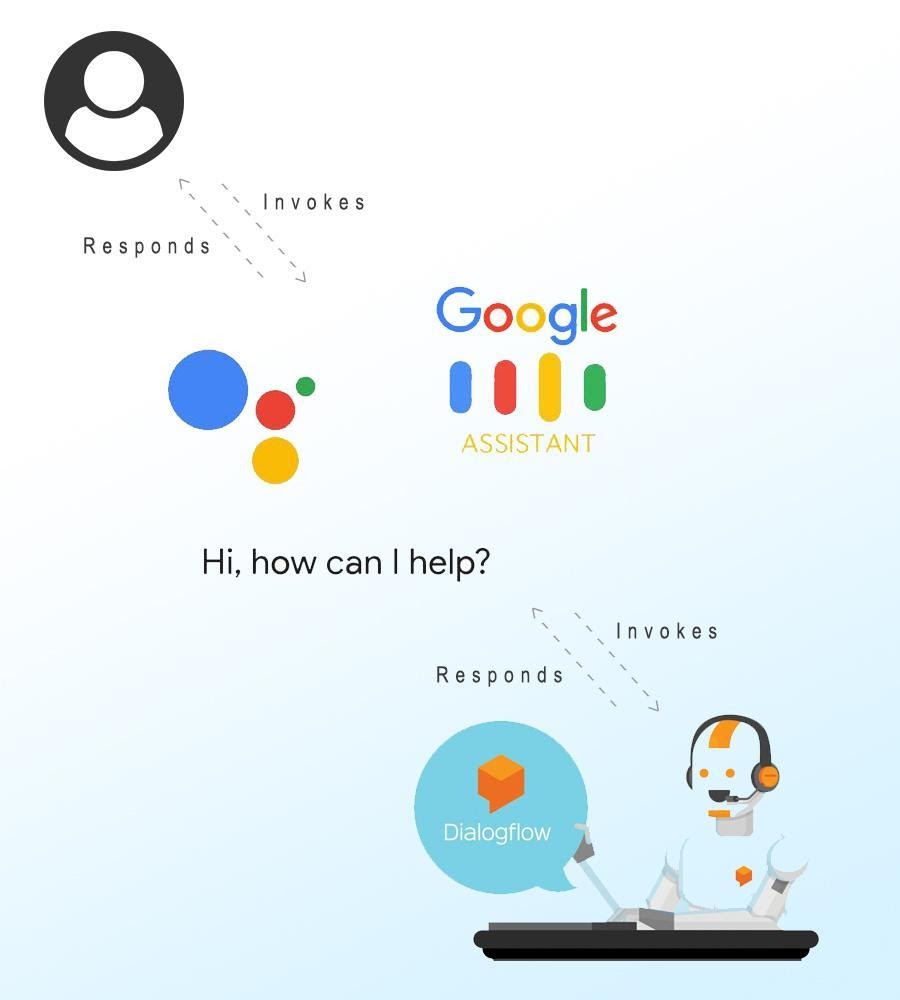
Google Assistant
How to build Google Assistant using DialogFlow?
First of all sign-in Google "Go to Action Console" and click on "New Project"
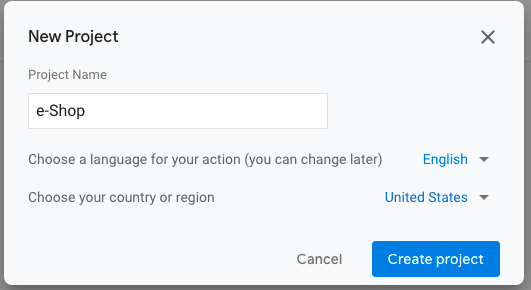
Select your project name ‘e-Shop’, it should be unique due to your purpose. When you create the project you will be able to find templates or create from scratch your idea.

For this project I have chosen the “Health & Fitness” template, therefore we need to set up our actions. Go to “Build your Action” and “Add Action(s)”.
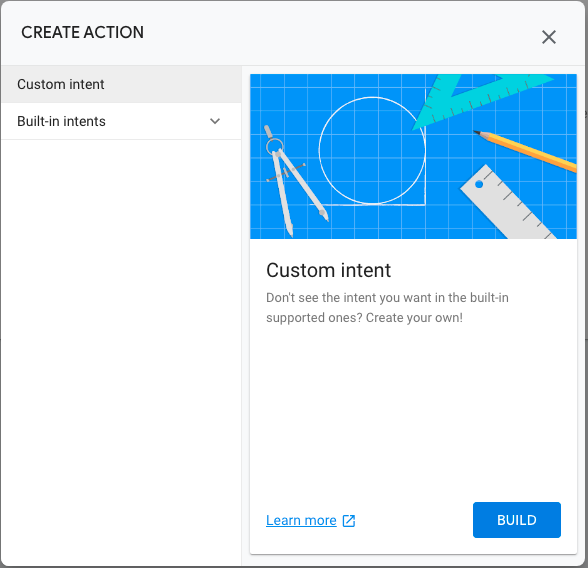
Now we are going to create action by selecting Custom Intent and clicking the “BUILD” button.
Build your first Action
Build a custom conversational experience for the Google Assistant.
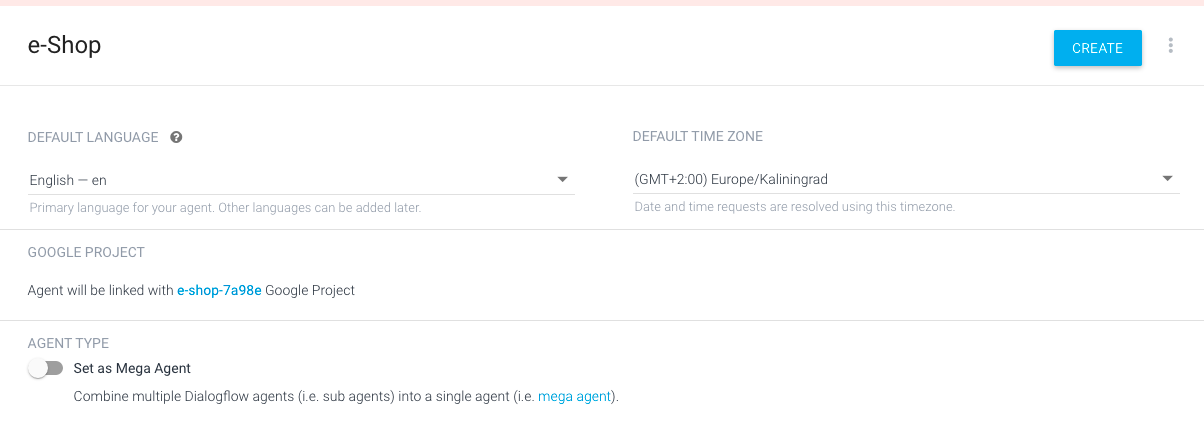
Now it is time to connect with DialogFlow go to console, and create a new project.
In the DialogFlow tab you will be able to see on the left panel, Intents, Entities, Knowledge, Fulfillment, Integrations and so on.
Responses and delete Text Responses by creating your own. For example, i have written: “Welcome to e-Shop, Do you wanna hear more about nutritions?”.
Click Save, and let us create some follow-up intents as below, with “Yes”
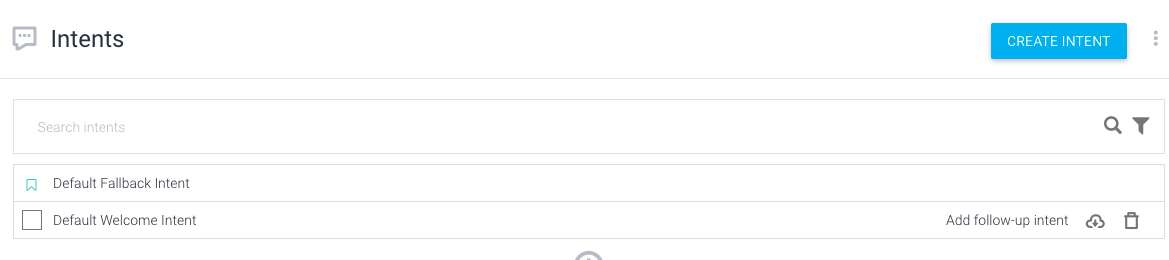
Note: “A follow-up intent is a child of its associated parent intent. When you create a follow-up intent, an output context is automatically added to the parent intent and an input context of the same name is added to the follow-up intent.”
After Creating “Follow-up Intent” with response “Yes” click the row, go to response again, and add your response, for example: “Here are the best Nutritions: 1.Serious Mass, 2.MassTech, 3.Gold Weight”, then click Save.
By adding different Follow-up, in the default or your own Intents, you will be able to have the best fit for your voice/chatbot virtual assistants project.
Once you write click Save button and go to Integration tab on the left panel side, then click “INTEGRATION SETTINGS”
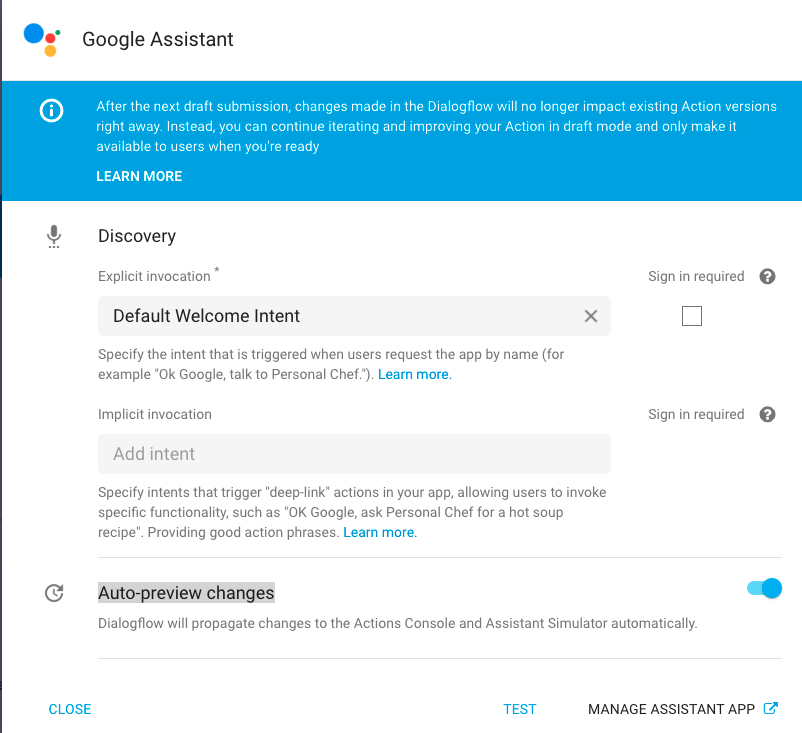
Set “Auto-preview changes” to true, and click on Test, in order to see results.
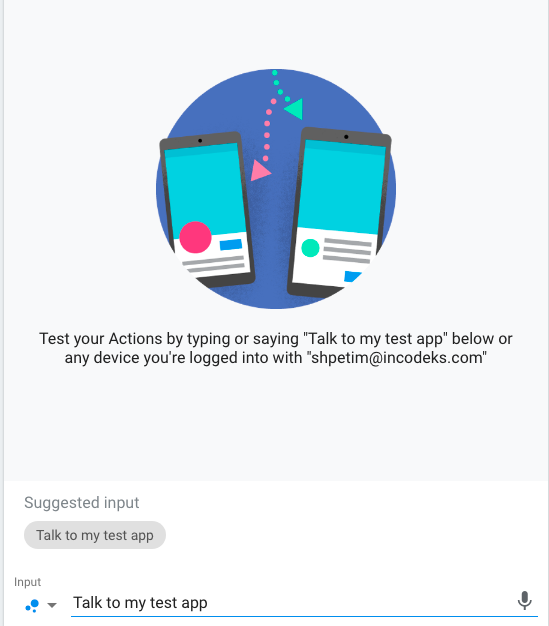
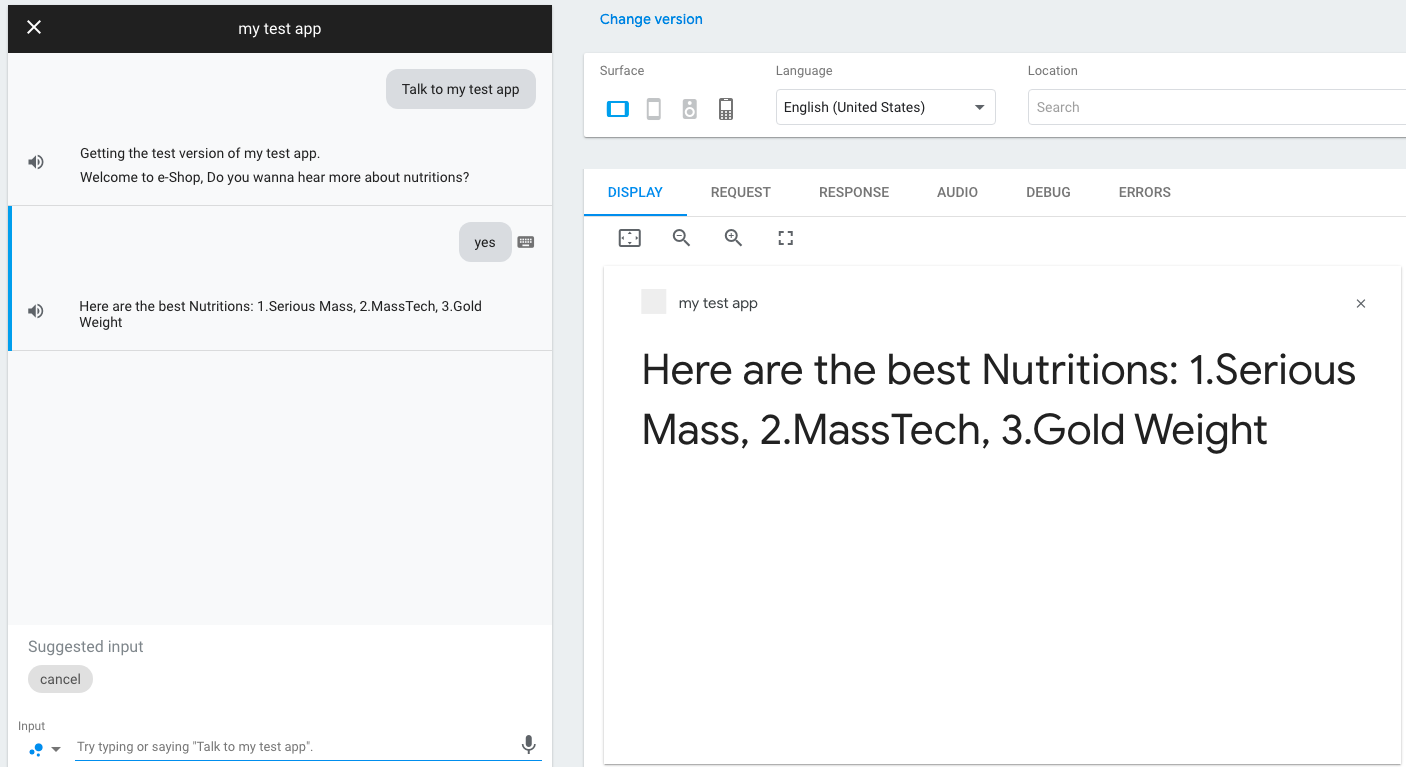
Results are shown above in the images, you can build your own bot and give different responses according to the topic you chose.
When you create your own idea, now it is time to explain how to publish your voice/chat bot.
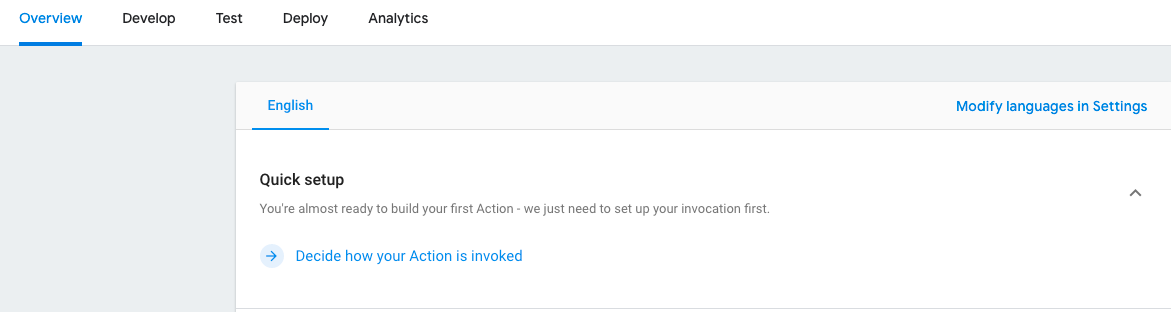
“Overview”, and click “Decide how your Action is invoked”, Choose a name for your Action, or type this name to begin interacting with it and click “Save” (Remember: name should be unique, and not existed before). Go to “Overview”, Get Ready for deployment, –> Enter information required for the Actions directory, add necessary data, description, your logo and other informations. Invocation should be at least one selected in order users to be guided in the right way. Once you are done, click “Save”.

Go to “Overview”, select the “Release” tab and then click on “Create a Release”.
